Wreath-in-Progress/mini tutorial
Don't forget to enter my giveaway!So much to say today! Ellie is officially walking! YAY!! She's been practicing a few steps here and there for two weeks now but my girl doesn't like to rush things and was still crawling mostly. Today though she decided she's had enough of the dirty knee thing and is pretty much walking all over our living room. She's a rock star!! High kicks, Ellie!
WOO HOO! I hit 20 followers! THANK YOU! I'm having so much fun in this whole blogging thang and I'm so grateful that I have people who support my effort! You all deserve candy and high fives!
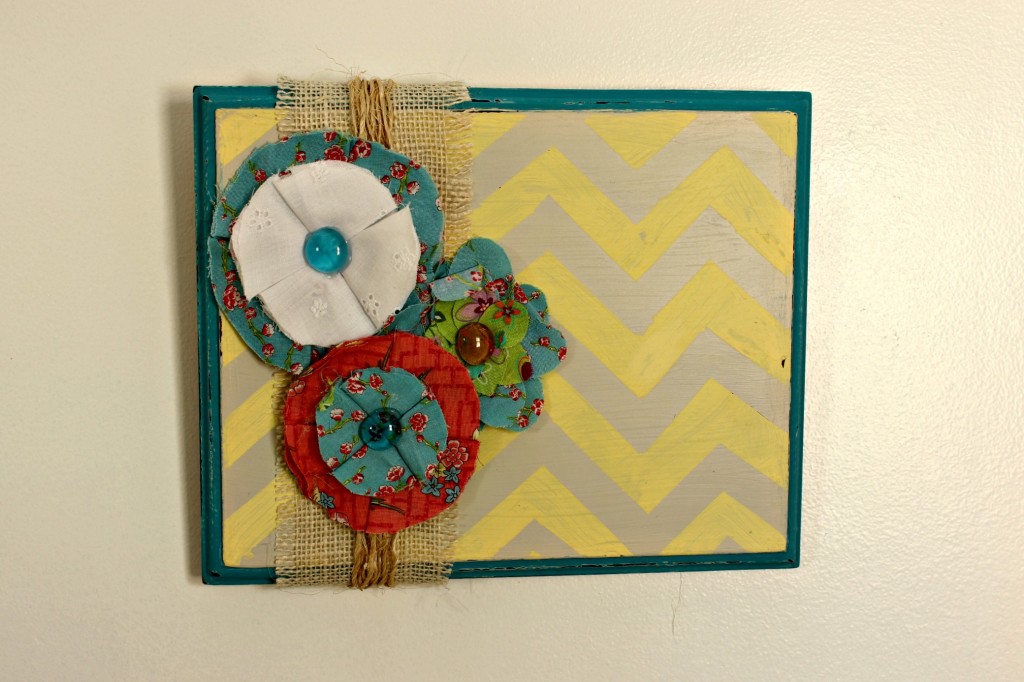
So, I'm so excited about a new project I am working on. It seems to be meant to be as it's coming out just as I had envisioned. I found this beautiful blue/teal cotton fabric for $3 in the remnant bin at Joanne's. I snapped it up for the color not really knowing what I'd do with it. After I made this ruffled wreath for my sister I decided to make one for myself so I'd have something pretty to hang on our front door when we move into our new house.
So I started on the ruffles and, not having a sewing machine, I used the old fashioned baste stitch method. Here are the steps for my stitch challenged friends.
Step one:
Step two:

Stitch the entire length of your fabric strip and then pull the fabric along the thread so it bunches, gathers, and ruffles.

Step three:
Decide how bunched you want your ruffles and adjust it accordingly. I prefer loose ruffles for these wreaths instead of very tight and uniform ruffles but that's just my preference.

Done! I didn't stress about stitching in the straightest line in the world for this project. You won't see that part since the ruffles overlap.
So you'll notice that the fabric I ruffled in these pictures is actually teal corduroy. Well since I had remnant fabric to begin with I found myself short on ruffles to fill the whole wreath. And since it was remnant there really wasn't any more for me to buy and the whole point was to be thrifty anyway. So I left the ruffles in the bag in the bottom of my closet, I mean craft room. Then yesterday I found the EXACT SAME COLOR fabric in the bin but in corduroy and I snatched it right up! Yay for a new fall wreath! I got busy doing some flowers in the corduroy with some coordinating fabrics to embellish it, started ruffling the cord, and started gluing it on my wreath. I love that my new fall wreath will be fallish and festive but not typical colors (which I do love too). I can't wait to show you the finished product!! Stay tuned!
Here are some projects from other bloggers I thought were awesome:
How cute is this castle playhouse at Tidbits of My Crafty Side?! It's every little girl's dream! And it is stocked with princess clothes and a little bed for any sleeping beauties that may happen by! Swoon!

I fell in love with this hat over at Dear Lillie. Isn't it amazing? Jennifer's photography is so gorgeous too. I wish my girls would let me put hats on them. They won't but I entered the giveaway for it anyway!

Now CALLING ALL REAL SEWERS--I am buying a sewing machine. I've been waiting and now is the time but I am torn between the beginner machine made by Brother or the beginner one made by Singer. If anyone has any experience with these machines I'd love some advice! I would be doing mostly basic stitching and I'm a very very beginner sewer. Thank you!!
Cheers!
Jenny


I too am a simple sewer. I read the reviews and am looking to purchase this one. Seems good for the ameteur. Hope this helps
ReplyDeletehttp://mollied.blogspot.com/2009/07/note-to-self-singer-curvy.html
Love your blog! I can't wait to see that wreath when it is done!
ReplyDeleteThanks so much for mentioning our shop, Jenny! You have a wonderful blog!
ReplyDelete